Last modified: Jun. 26, 2009
Contents
1 - Summary
2 - List hard disks and partitons
3 - Save partition as an image to samba server
4 - Restore partition from samba server
1 - Summary
This guide will show how to create an image of a computer and then restore it
using Clonezilla Live. Clonezilla Live is useful for a single computer backup
and recovery. This has been tested using GParted Live 0.4.5-2 and Clonezilla
Live 1.2.2-14.
2 - List hard disks and partitions
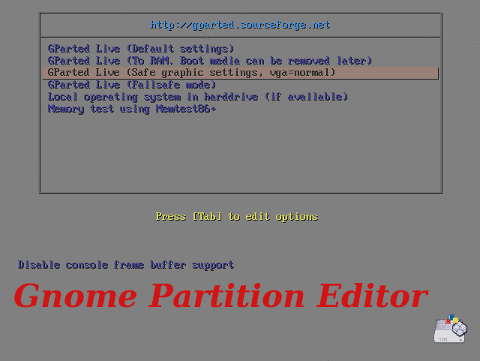
Make sure the BIOS is set to boot from CD. Boot from the GParted Live CD found
at http://gparted.sourceforge.net/ to list the hard disks and partitions. Here
is the first screen with the main options. Select GParted Live (Safe graphic
settings, vga=normal).
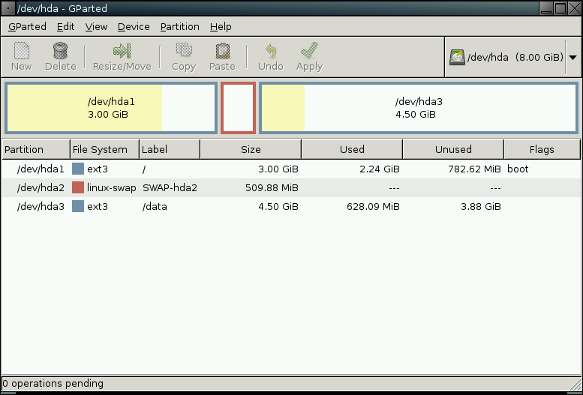
 You will now be prompted to change your keymap for your keyboard, select your
language and finally how to start X-Windows. The gparted application will now
start. You can select the hard disk by using the drop-down box in the upper
right-hand corner of the screen. In this example, there is one hard disk with
three partitions.
You will now be prompted to change your keymap for your keyboard, select your
language and finally how to start X-Windows. The gparted application will now
start. You can select the hard disk by using the drop-down box in the upper
right-hand corner of the screen. In this example, there is one hard disk with
three partitions.
 When finished, click on the icon that says Exit and remove the CD.
3 - Save partition as an image to samba server
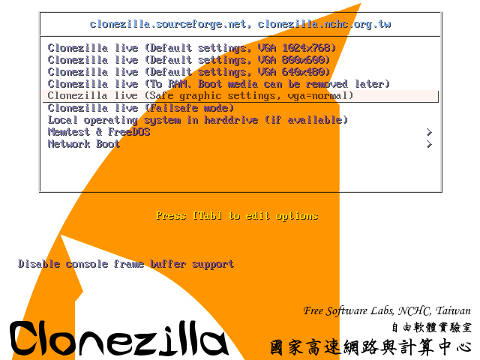
Boot from the Clonezilla Live CD found at http://www.clonezilla.org/ to go about
saving a partition as an image to a samba server. Here is the first screen with
the main options. Select Clonezilla live (Safe graphic settings, vga=normal).
When finished, click on the icon that says Exit and remove the CD.
3 - Save partition as an image to samba server
Boot from the Clonezilla Live CD found at http://www.clonezilla.org/ to go about
saving a partition as an image to a samba server. Here is the first screen with
the main options. Select Clonezilla live (Safe graphic settings, vga=normal).
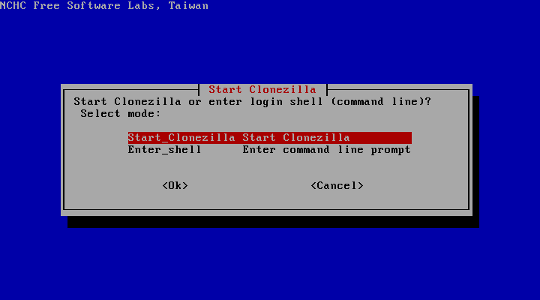
 You will be prompted to change your keymap for your keyboard. Select
Start_Clonezilla.
You will be prompted to change your keymap for your keyboard. Select
Start_Clonezilla.
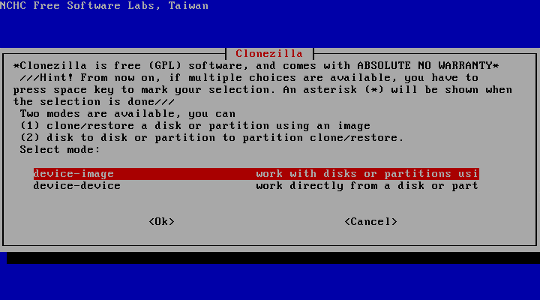
 You will be prompted to choose if you want to work with an image or device. In
this example select device-image.
You will be prompted to choose if you want to work with an image or device. In
this example select device-image.
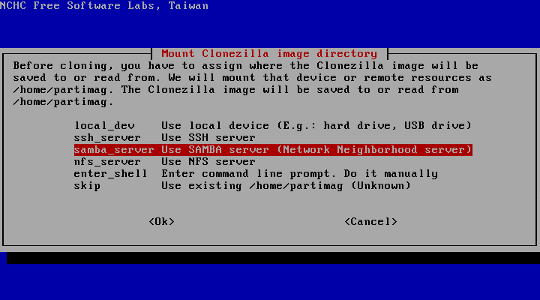
 Select samba_server to save the image to a samba share.
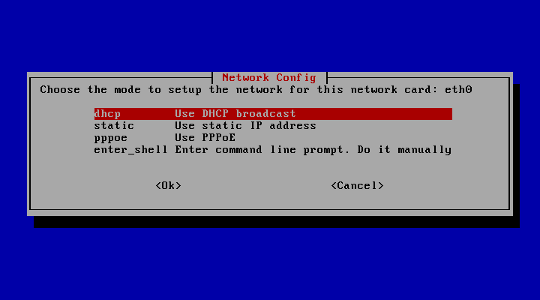
 Configure the network settings. In this example select dhcp.
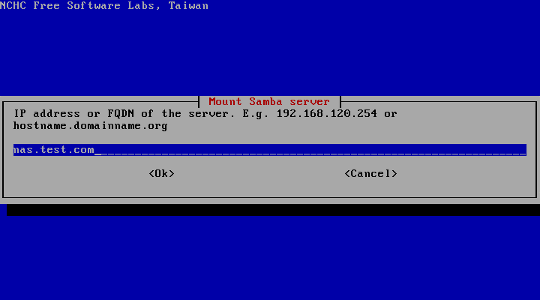
 Type in the IP address or full DNS name of the samba server where the share is located.
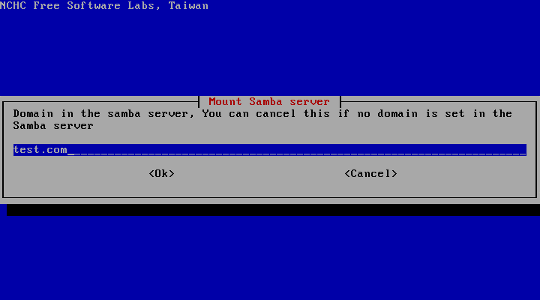
 Type in the domain the samba server is in.
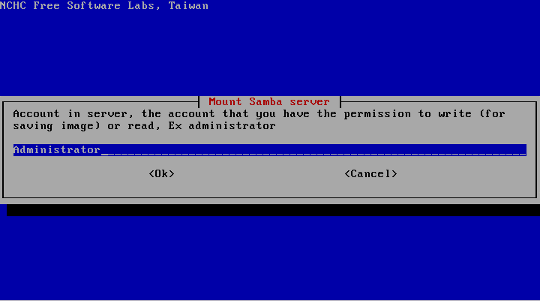
 Type in the account name that will be used to access the samba share.
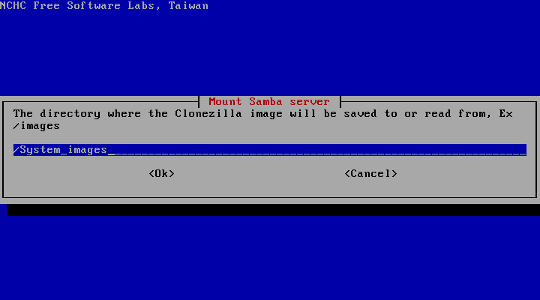
 Type in the directory/share name where the image will be saved to.
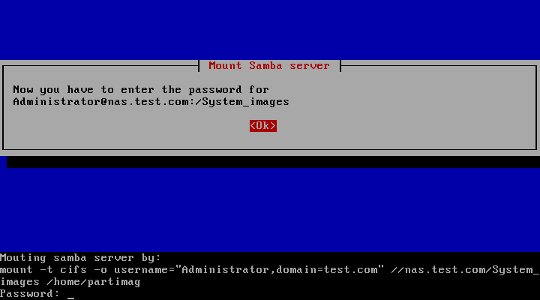
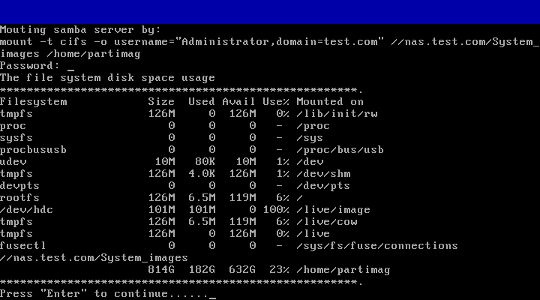
 Type in the password for the samba share.
 After the correct password is typed in the file system disk space usage will be
displayed.
After the correct password is typed in the file system disk space usage will be
displayed.
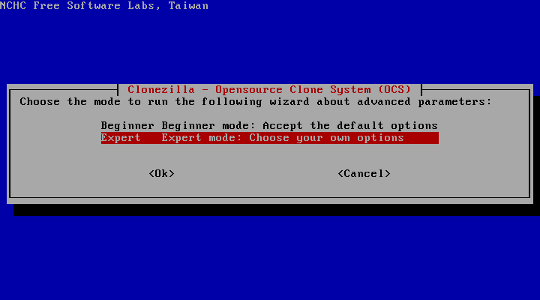
 Select Expert so the options can be specified.
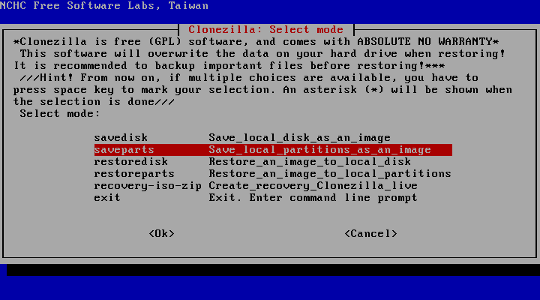
 Select saveparts to save a partition as an image.
 Type in a name for the saved image. This will be the name of the directory
where the image will be saved inside.
Type in a name for the saved image. This will be the name of the directory
where the image will be saved inside.
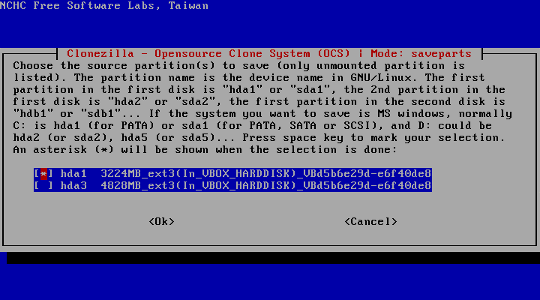
 Select the source partition that will be imaged.
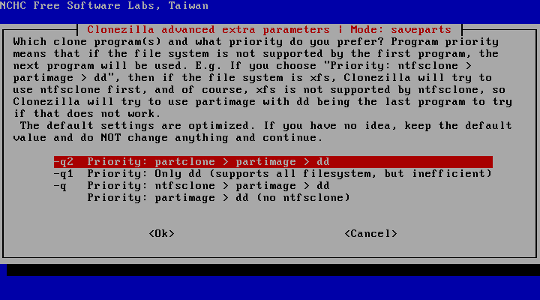
 Select -q2 priority to try using partclone then partimage and finally dd.
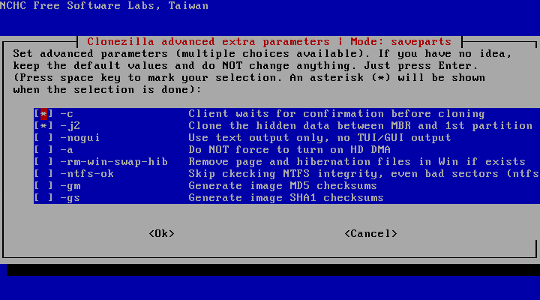
 Select the -c and -j2 options.
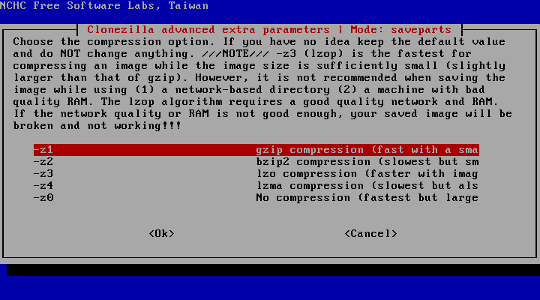
 Select -z1 to use gzip compression which is a good compromise of speed and file
size.
Select -z1 to use gzip compression which is a good compromise of speed and file
size.
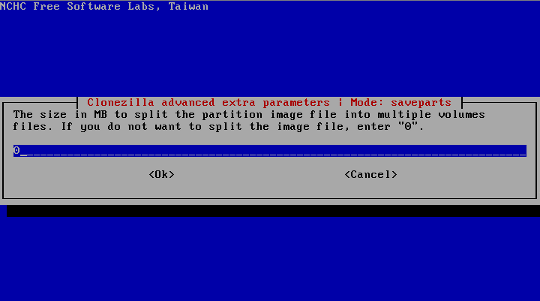
 Type in 0 to not split the image file.
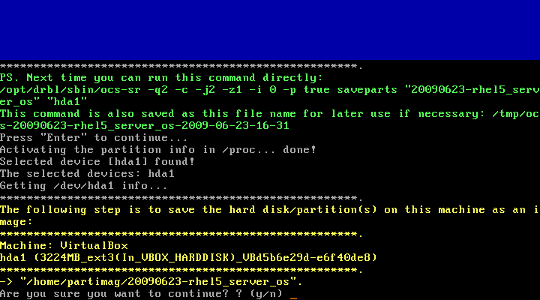
 Select -p true so when the cloning is finished the computer will still be
running.
Select -p true so when the cloning is finished the computer will still be
running.
 Press Enter to continue. Type in y to confirm and start.
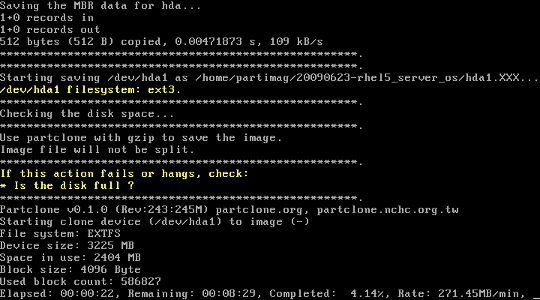
 Here is the screen that displays the progress of the imaging.
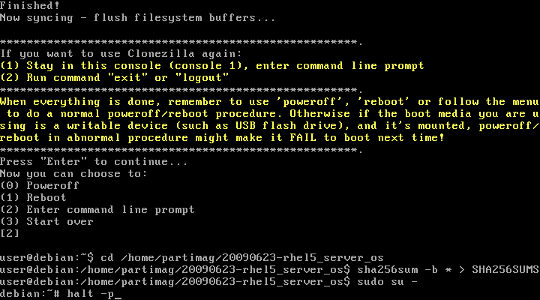
 The imaging process has finished successfully.
 Finally, enter the command line prompt and create a checksum file. When that
finishes change users and become root and shutdown the computer.
Finally, enter the command line prompt and create a checksum file. When that
finishes change users and become root and shutdown the computer.
 4 - Restore partition from samba server
Boot from the Clonezilla Live CD found at http://www.clonezilla.org/ to go about
restoring a partition as an image from a samba server. Here is the first screen
with the main options. Select Clonezilla live (Safe graphic settings, vga=normal).
You will be prompted to change your keymap for your keyboard. Select
Start_Clonezilla.
You will be prompted to choose if you want to work with an image or device. In
this example select device-image.
Select samba_server to restore the image from a samba share.
Configure the network settings. In this example select dhcp.
Type in the IP address or full DNS name of the samba server where the share is located.
Type in the domain the samba server is in.
Type in the account name that will be used to access the samba share.
Type in the directory/share name where the image will be restored from.
Type in the password for the samba share.
After the correct password is typed in the file system disk space usage will be
displayed.
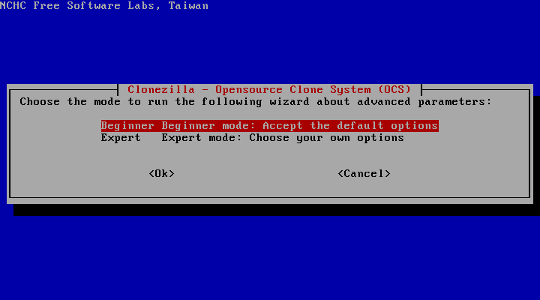
Select Beginner so the default options can be used.
4 - Restore partition from samba server
Boot from the Clonezilla Live CD found at http://www.clonezilla.org/ to go about
restoring a partition as an image from a samba server. Here is the first screen
with the main options. Select Clonezilla live (Safe graphic settings, vga=normal).
You will be prompted to change your keymap for your keyboard. Select
Start_Clonezilla.
You will be prompted to choose if you want to work with an image or device. In
this example select device-image.
Select samba_server to restore the image from a samba share.
Configure the network settings. In this example select dhcp.
Type in the IP address or full DNS name of the samba server where the share is located.
Type in the domain the samba server is in.
Type in the account name that will be used to access the samba share.
Type in the directory/share name where the image will be restored from.
Type in the password for the samba share.
After the correct password is typed in the file system disk space usage will be
displayed.
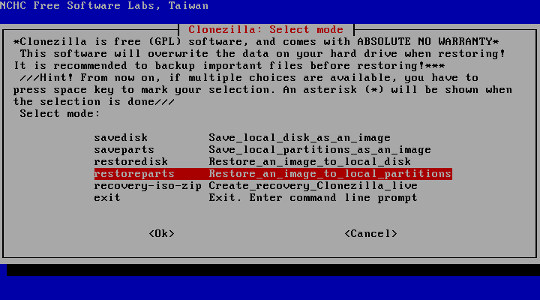
Select Beginner so the default options can be used.
 Select restoreparts to restore an image to a partition.
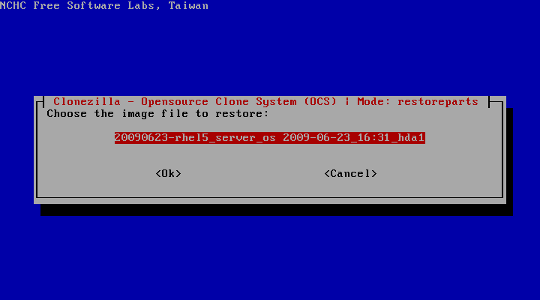
 Select the image file to restore.
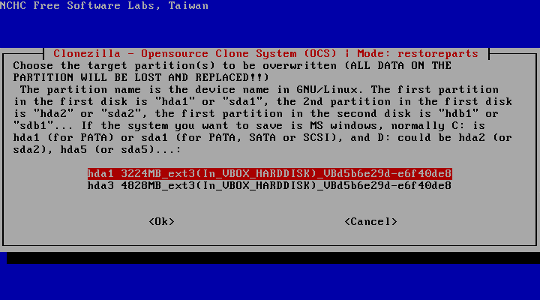
 Select the target partition that will be overwritten.
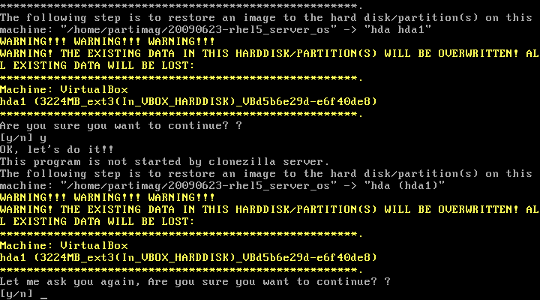
 Press Enter to continue. Type in y to confirm and start.
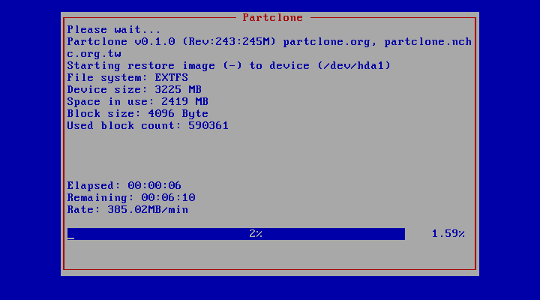
 Here is the screen that displays the progress of the restoring.
 The restoring process has finished successfully.
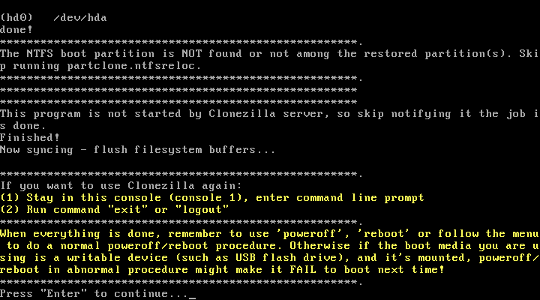 Finally, type in 0 and shutdown the computer.

|
